In Spring 2012, just prior to a 5 month drought with only 0.5" of water, I decided to take advantage of some of the crabapples I had planted several years before, converting them to 'large fruit' trees. This was designed to be a small scale graft testing effort. I tested 6 different grafting techniques to see which performed best. The assumption was, if God grants us 2013, we will graft the rest of the trees and maybeimport a couple hundred more trees and scion wood. Plus, most people are more than happy to give up a few bushel of crabapples lying about in their driveway!! :-) By contrast, I had spent about 20$/tree to bring in some 4 yr old Jonagold trees from the east coast, all died from fire blight, in fact the entire nursery was lost as a result. But here most of the local trees have some resistance even to cedar apple rust and since I also have cedar trees on the farm, finding resistant varieties is a must. After looking over several neighbor's orchards, some good quality resistant scions were found. Thanks here are given to the Wilcoxin family for the original scion wood from one of their farms. The drought has also been a sort of good fortune since it revealed some wonderful drought resistant trees in the area, full of fruit this fall. Here are some of 2012's results. This is not a scientific study, just some fun observations. PS..Practice is needed to prevent thumb damage. My uncle, Dr. Edward Burns, Texas A&M Professor Emeritus in Horticulture, taught me how to T graft peach trees over 50 years ago. But there are a thousand amateur and professional ideas on Youtube and at Amazon just waiting to be explored.
Things I learned about apple grafting....
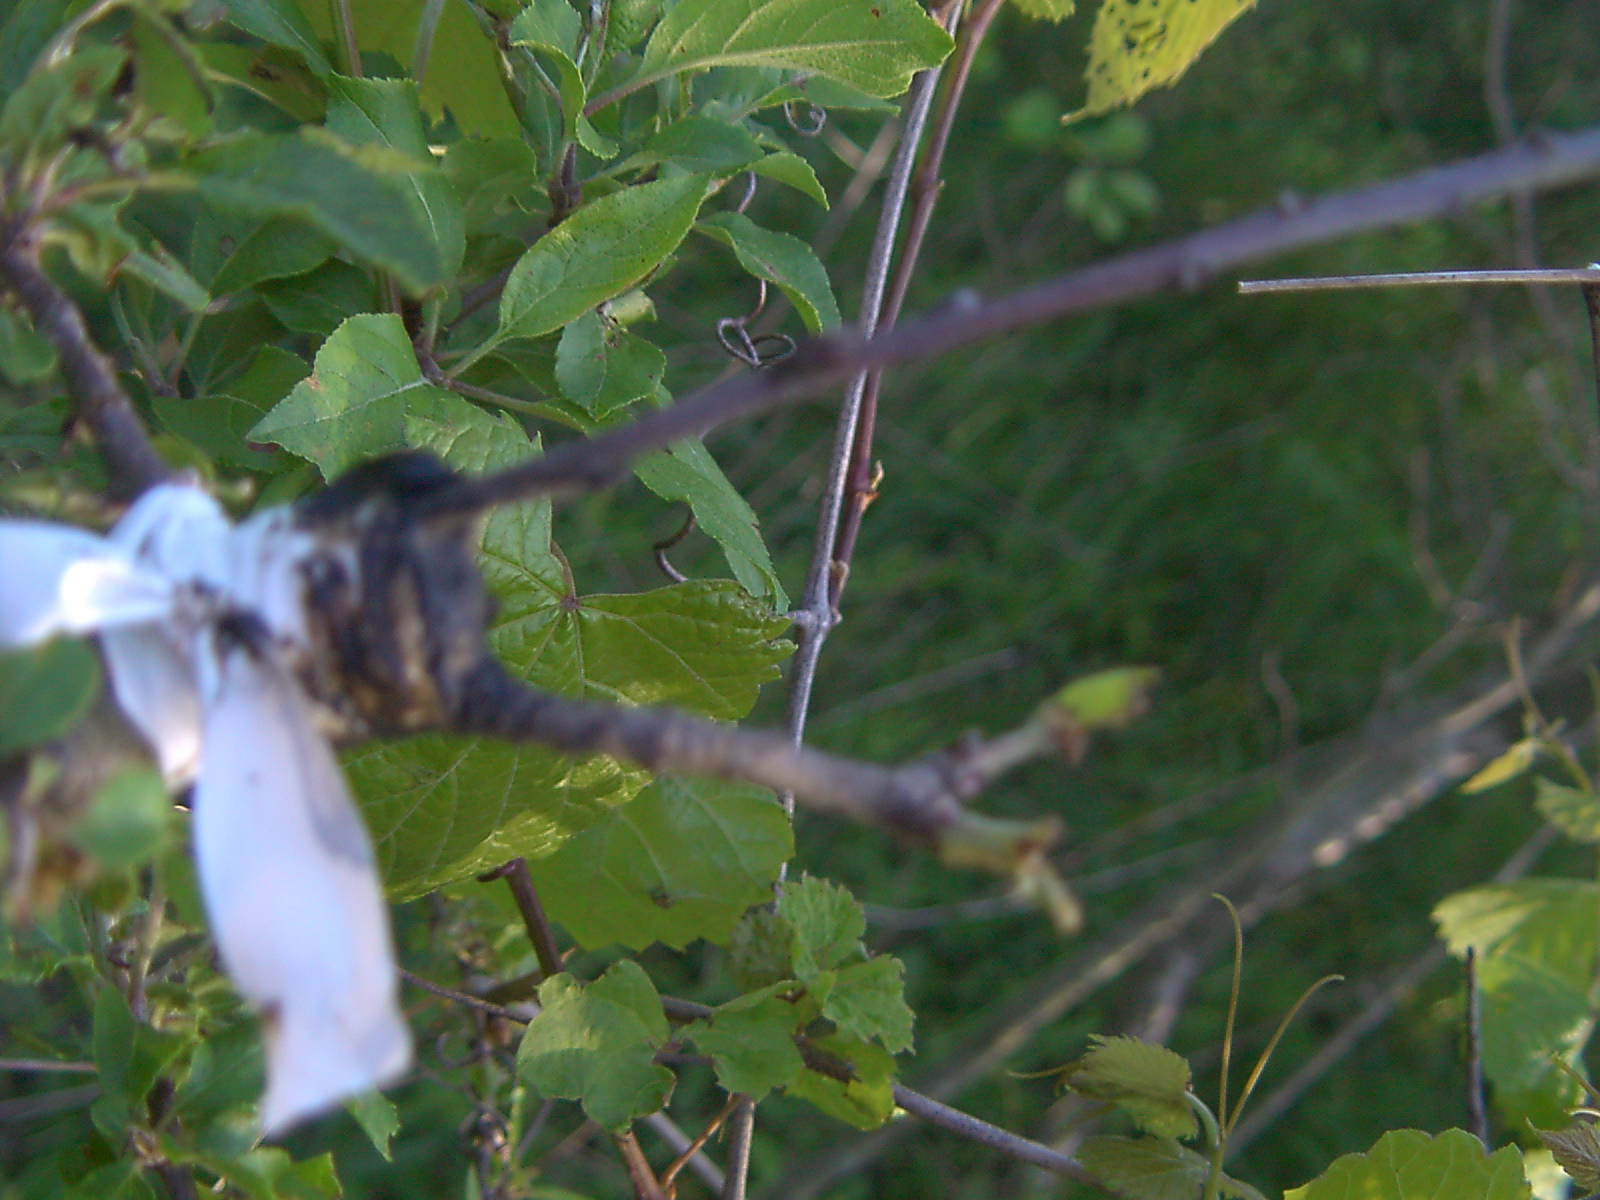
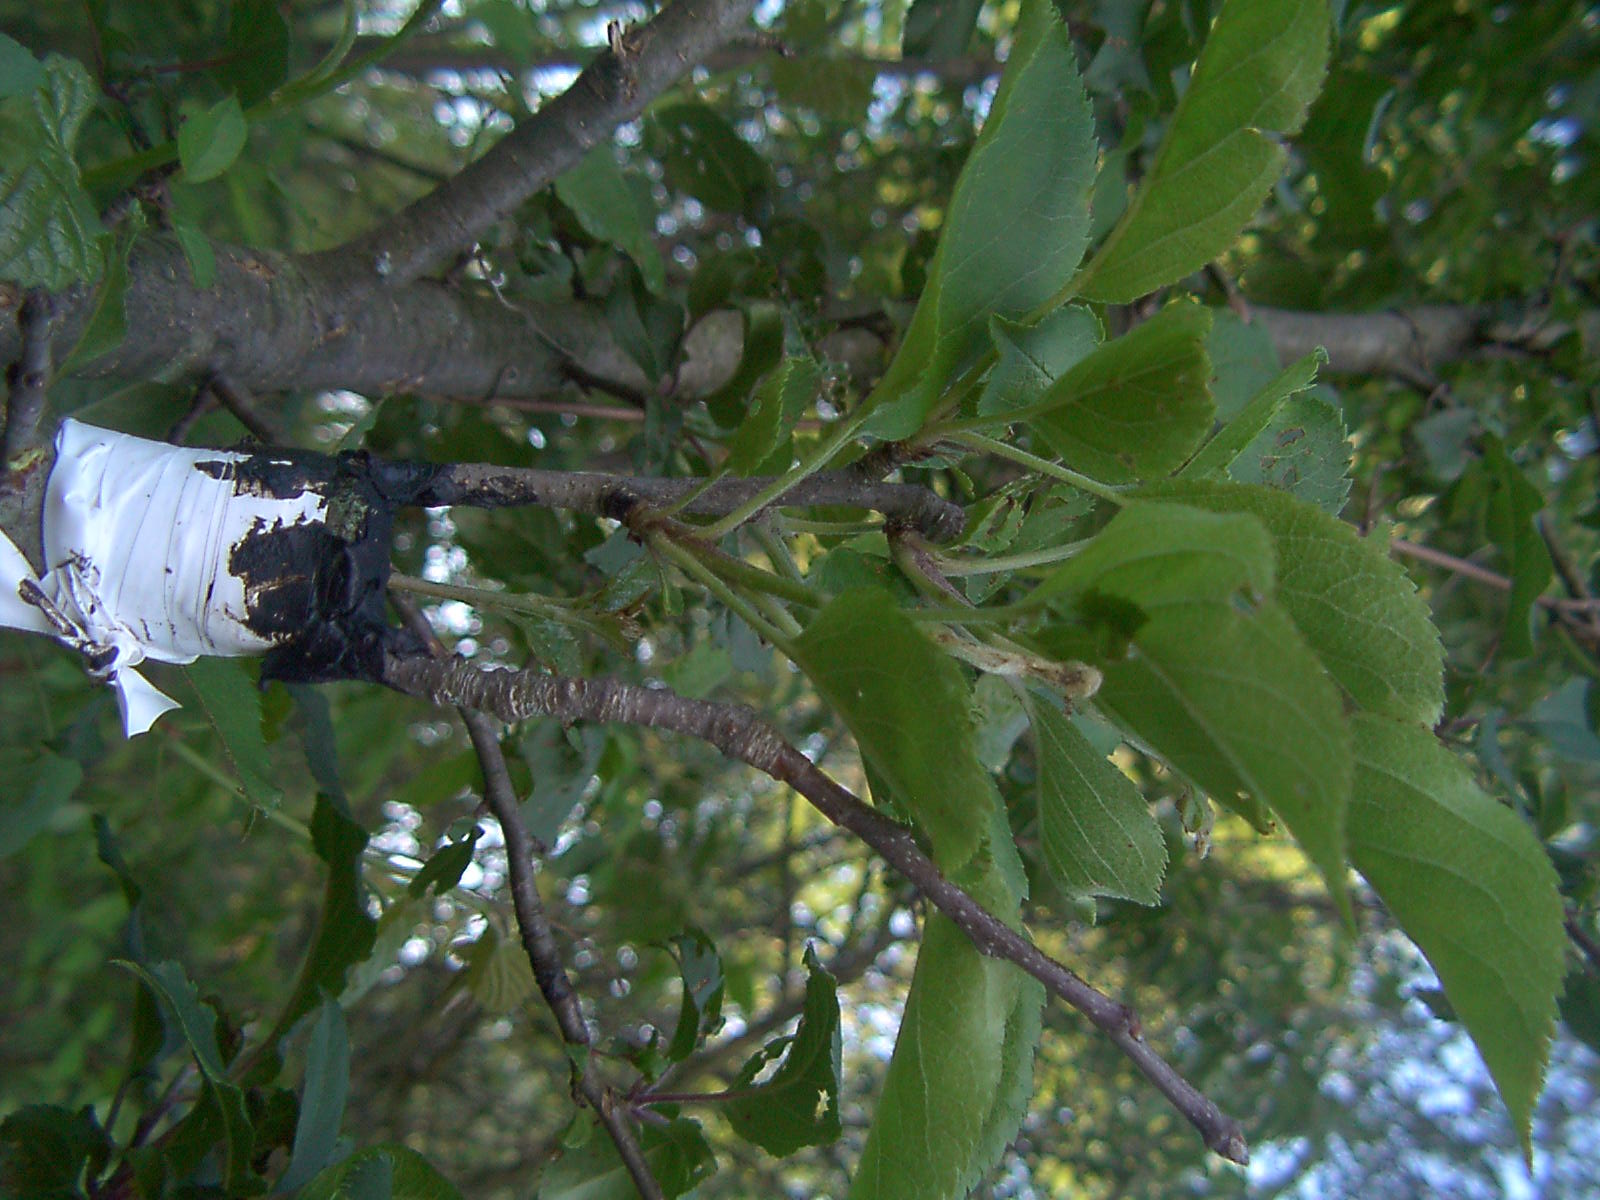
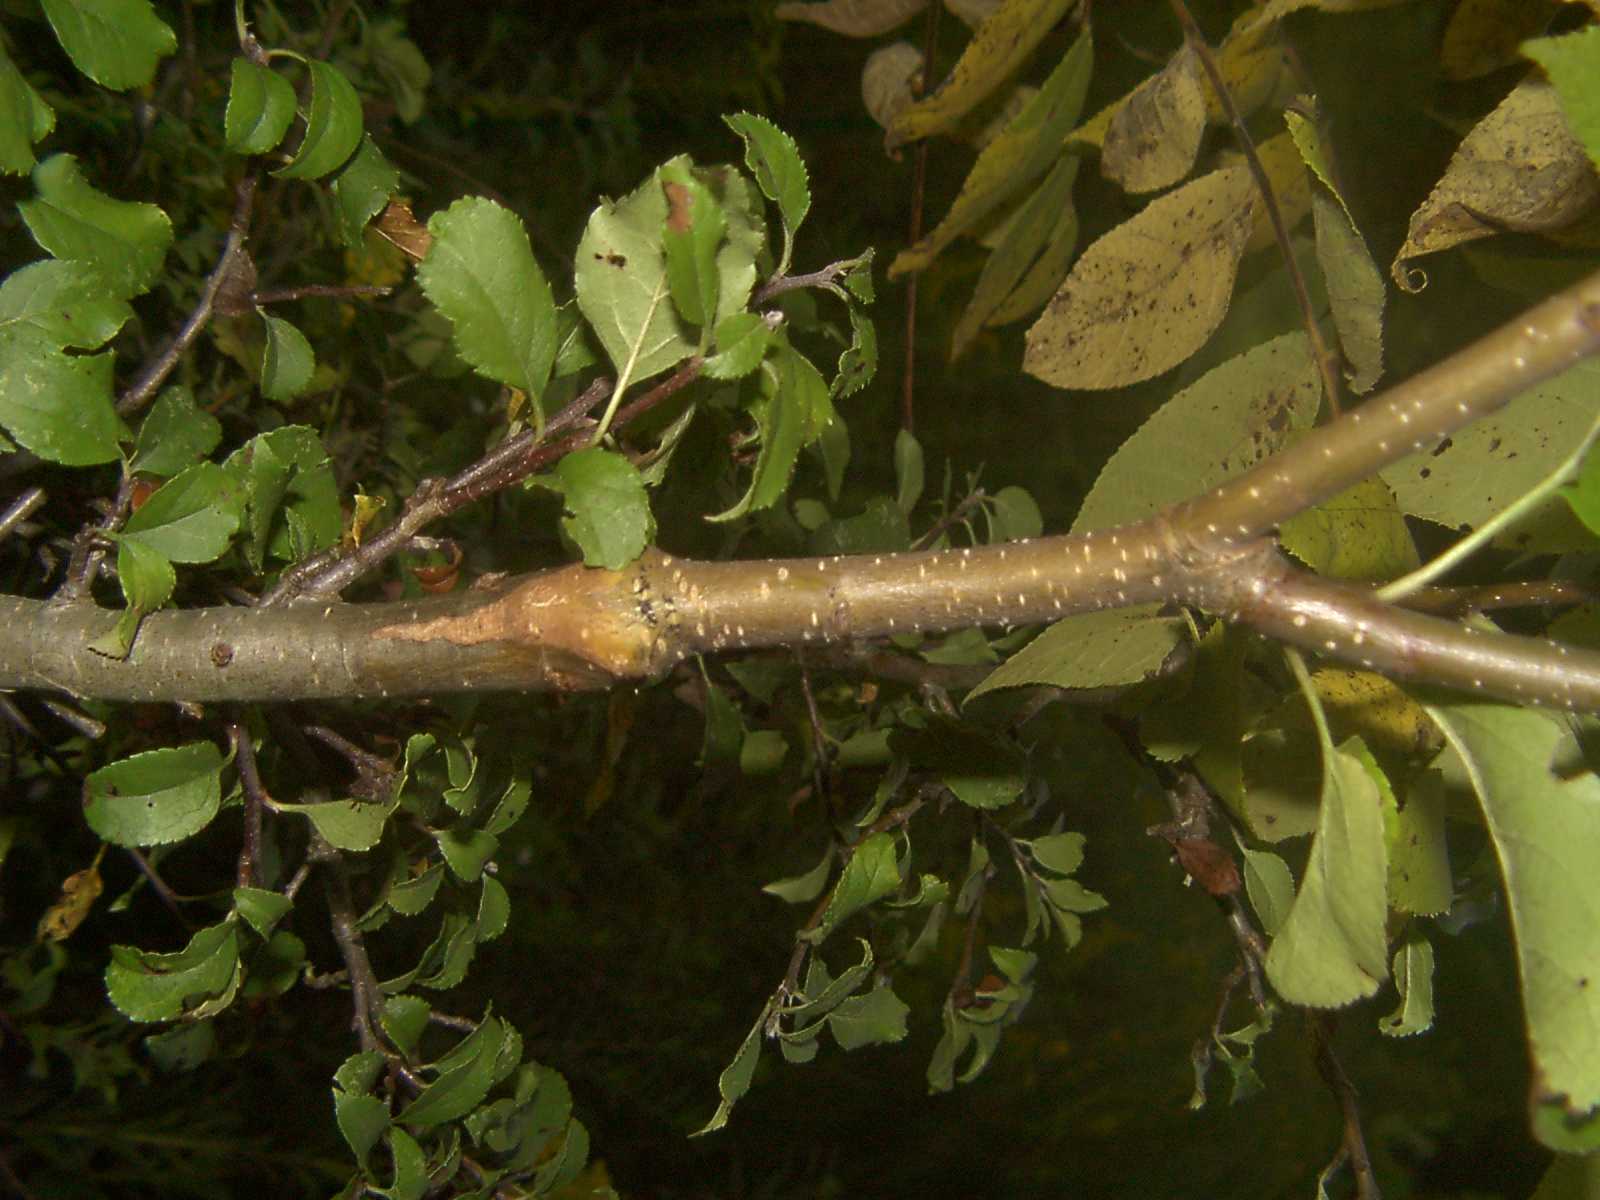
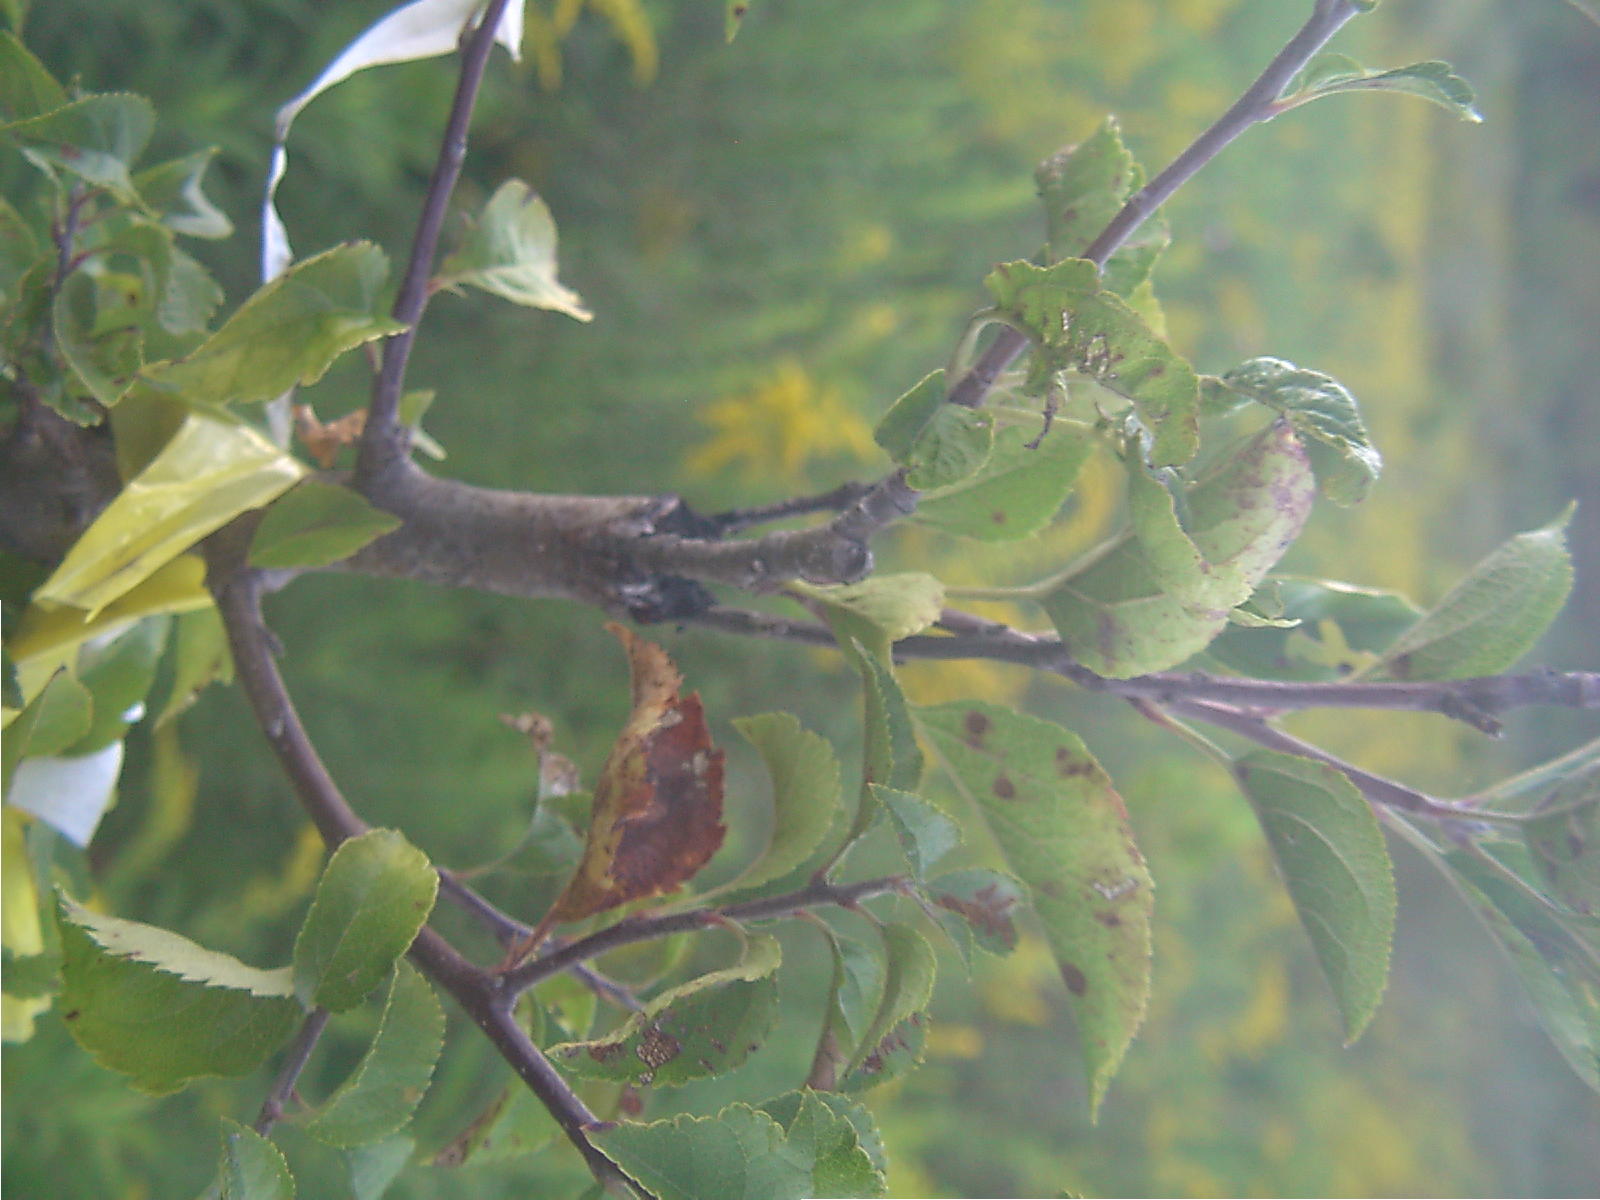
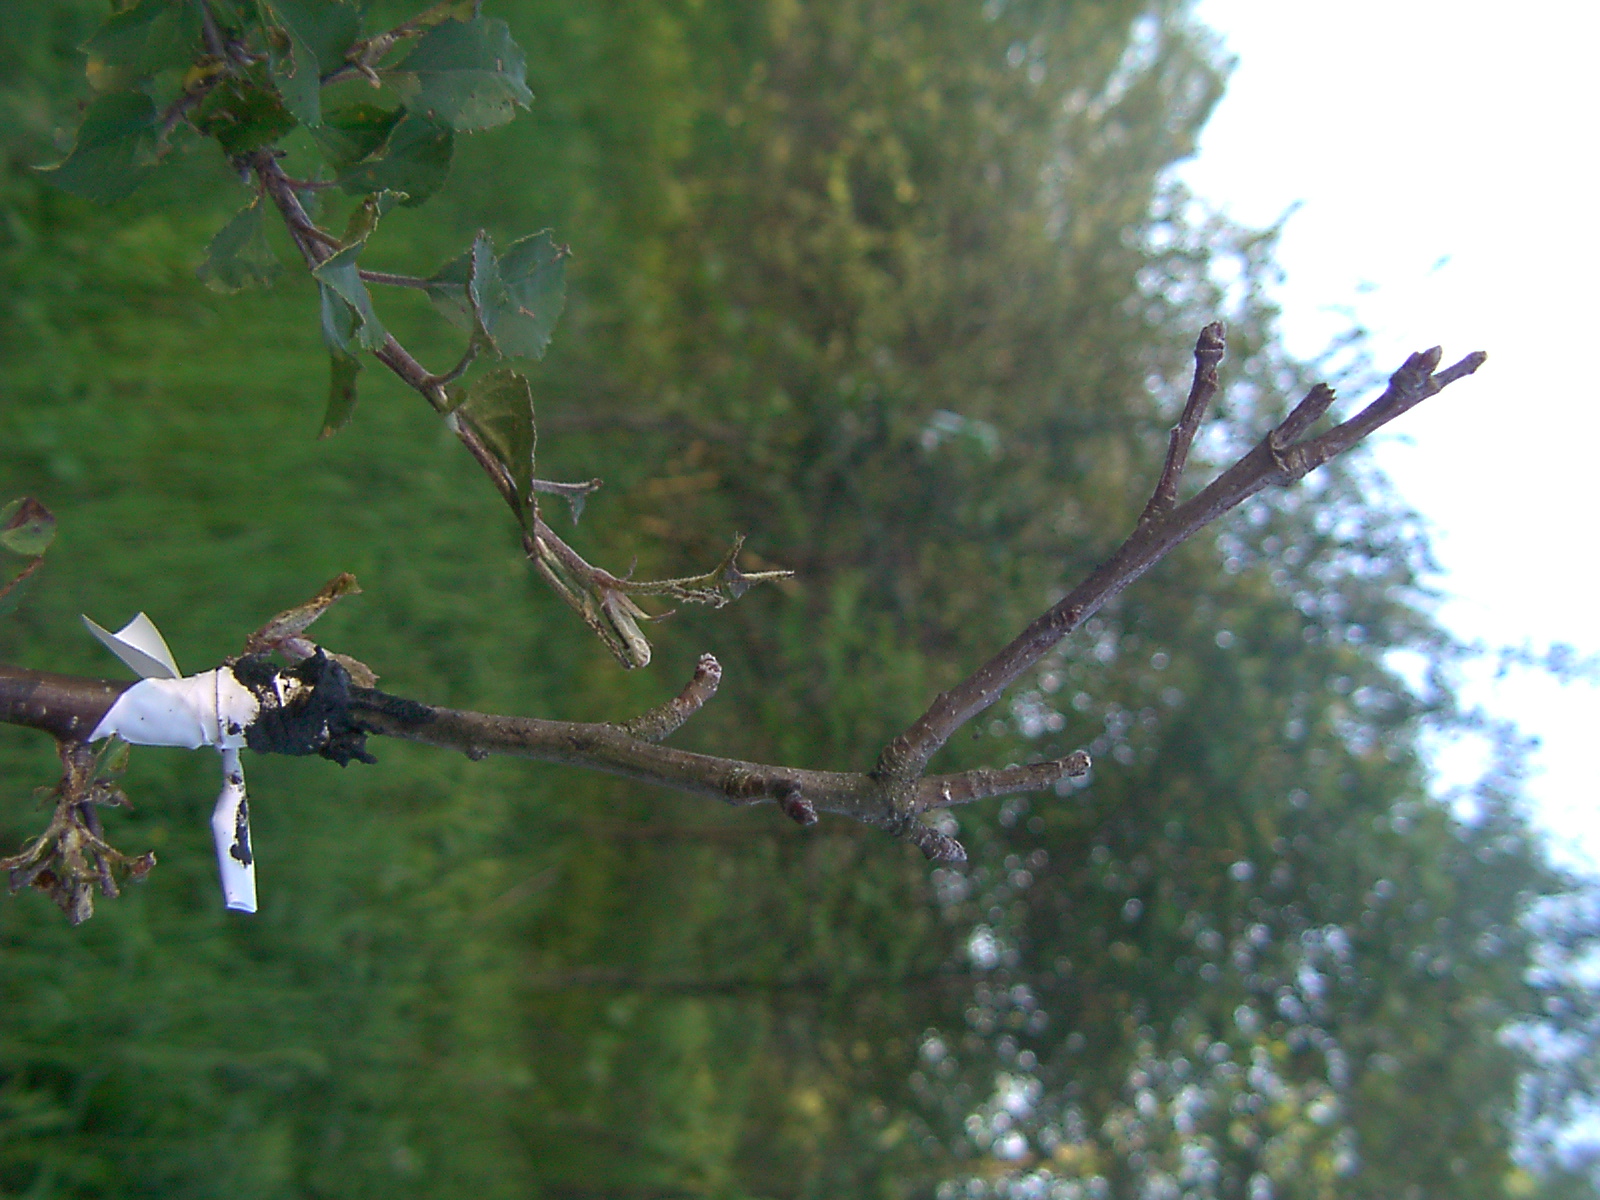
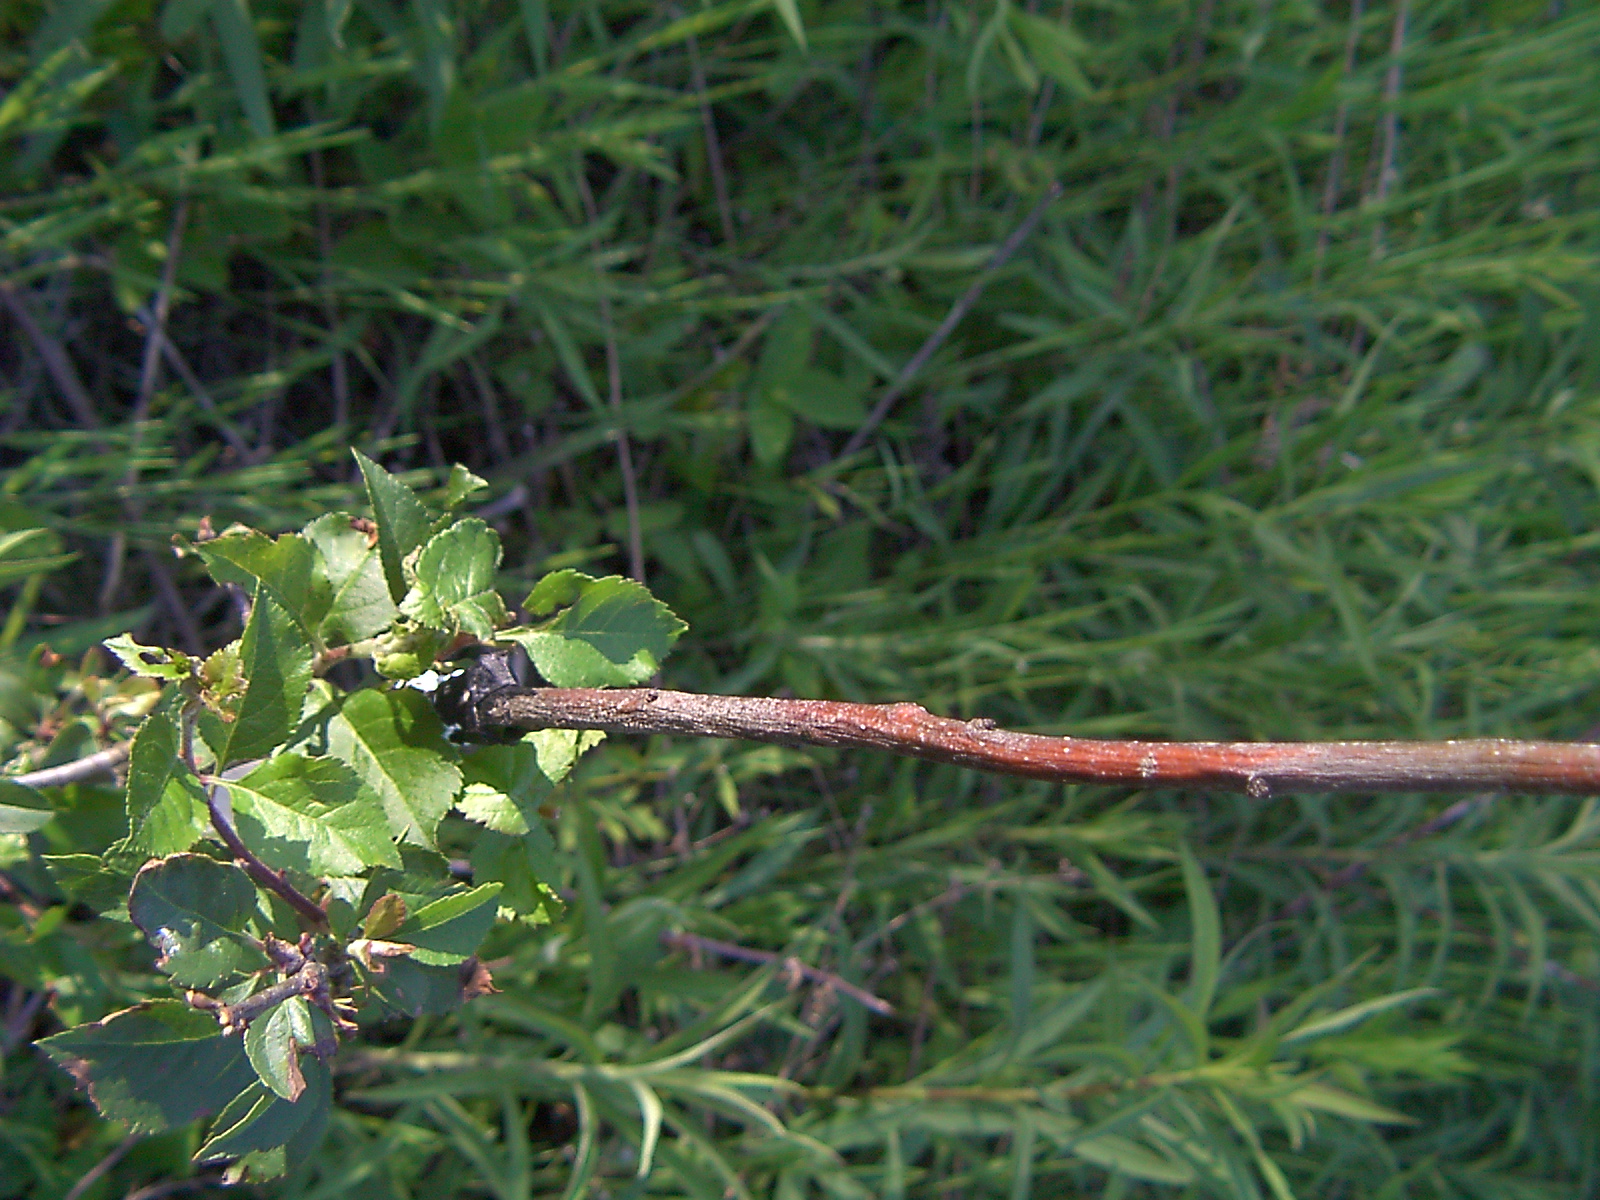
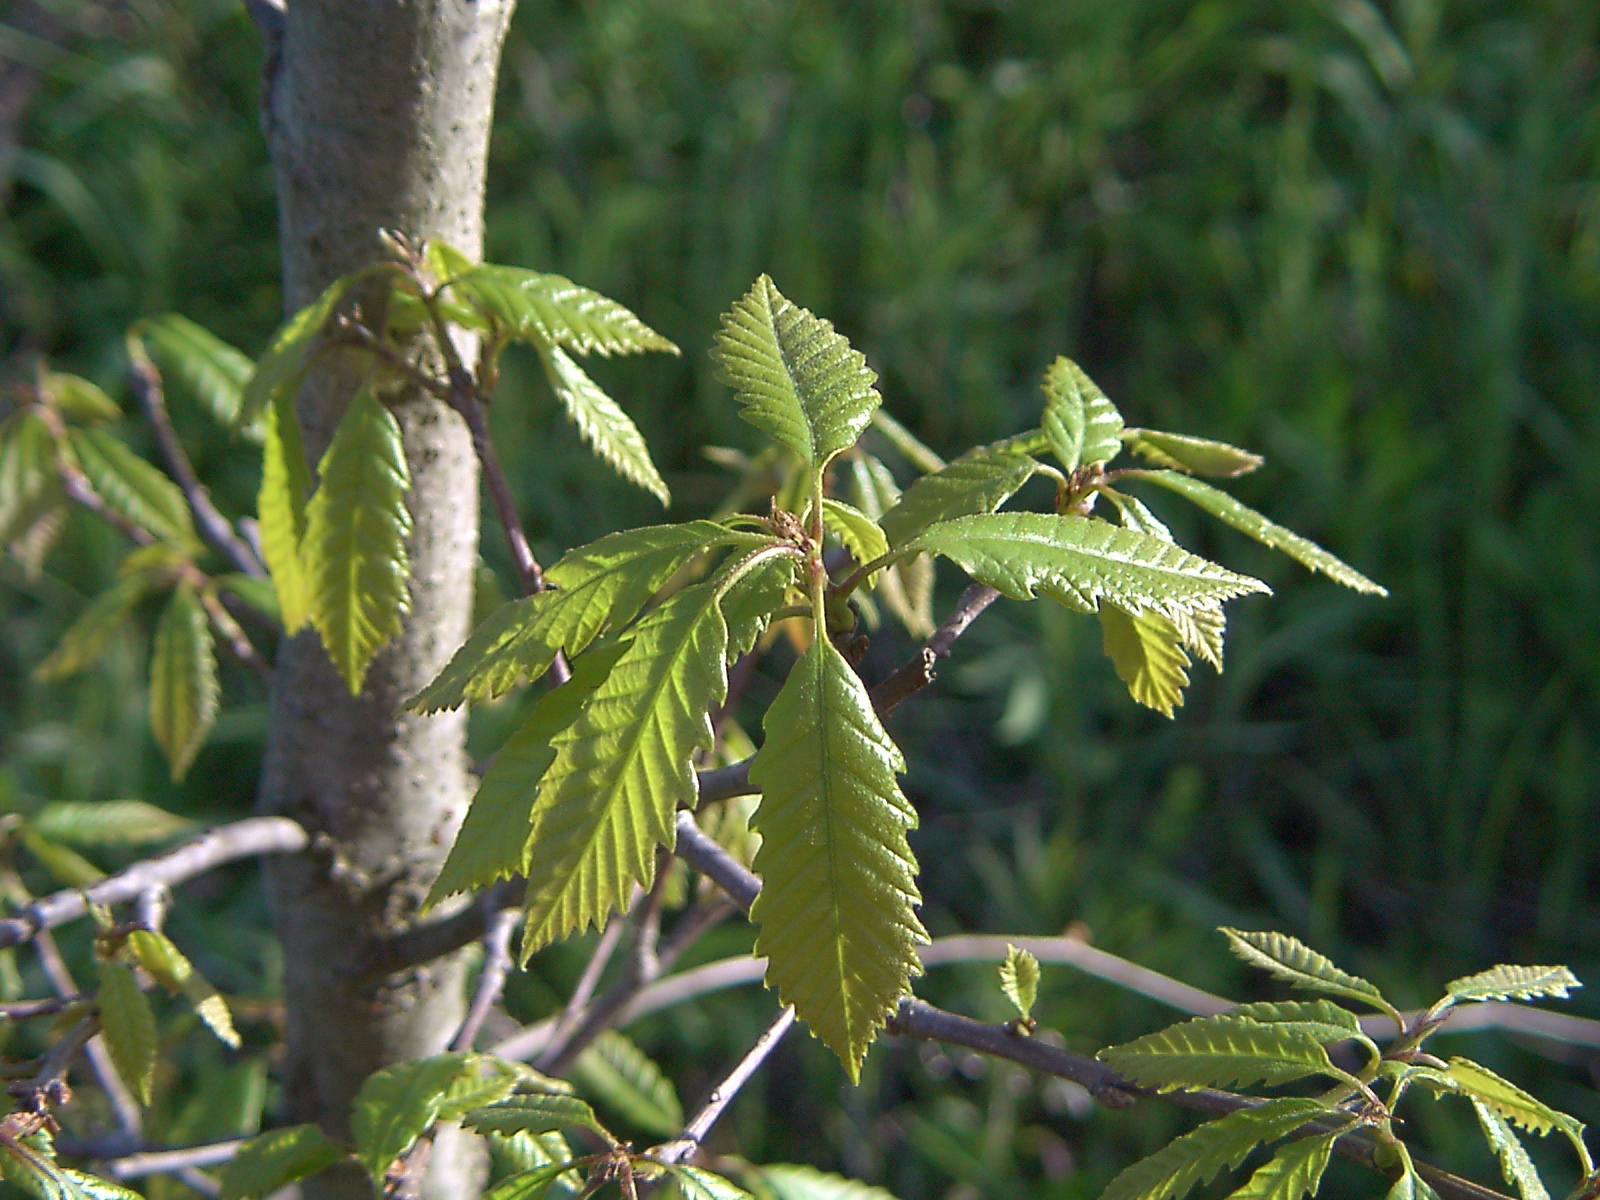
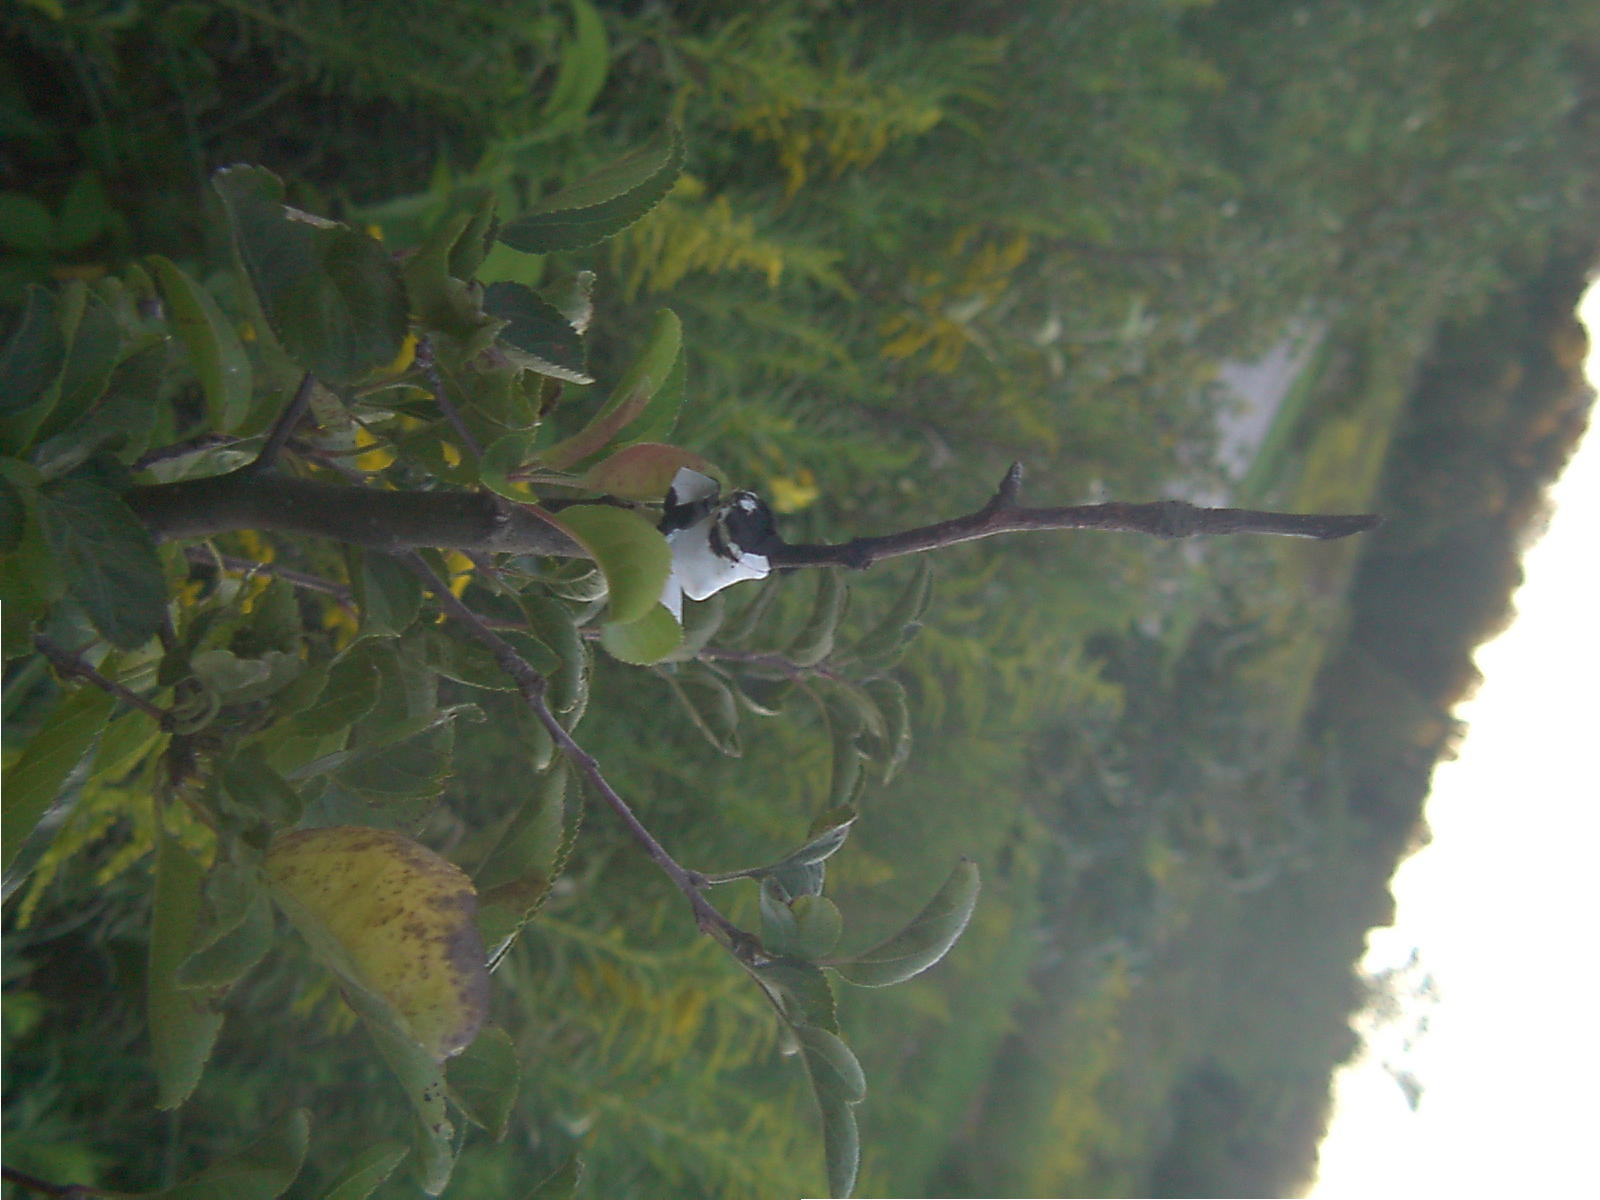
1. Grafting onto oak trees doesn't work. The trees
    should be identified in the fall when apples are
    usually the last to lose their leaves. Since
    the branch is sacrificed, it is not good to
    misidentify the tree. :-(
2. Use short fresh scions 1 to 2 inches maximum!
3. A straight split or V graft generally doesn't work.
4. Shade and moisture count, exposure to direct light
    and lack of moisture are fatal!
5. Long scions don't work.
6. T-grafts and side grafts beat out V or split grafts
7. All exposed ends should be tarred
8. A spiral wrapped scion graft beats a vertical,
   more surface area.
9. If it looks like a bird perch, it's a bird perch,
 i.e. it's a goner! birds love knocking off grafts,
 may even be a hobby.
10. Keep scions in water not more than 1 hour old.
11. Avoid deer paths and rabbit hides, grafts
   are an expensive veggie salad.
12. Later in the season is better, early in March is
   generally too early, wait almost until bud burst.


========================================
..........What you need in your grafting bucket....
1. Spray bottle with sterile water-keep graft surface moist if
      needed
2. Scissors-to cut tape and cut off existing leaves if needed
3. Semicircular type pruning sheers
4. knife with blunt end if possible like used in chip carving
5. Tree Wound, grafting sealer/tar-Teghtmeyers Ace Hardware
	Contech Enterprises
	115-19 Dallas Road
	Victoria, BC, Canada, VBV 5A6
6. Hammer and flat chisel-to do split stem graft and to cut
      into tough stock like grape vines.
7. Marking tape-to mark limbs, vines, or trees to be worked
8. Flat Screw driver-to dab tar in hard get places and to open
     tar container
9. Vinyl Grafting tape or parafilm -from Amazon.com or similar
10. Scotch tape-because things happen that need a little adhesive
11. Paper towels-clean up tar and provide moisture bed for scions
12. Hefty jumbo 2.5 gallon plastic bag with water and paper towels
      to keep scions moist and for refrigerator storage.  Scions
      normally can be harvested and refrigerated for several weeks
      before use, so they say.  This has not worked for me.  It is
      supposed to help so that buds don't burst before adequate
      water supply (sap) is available, remember this is injured
      tissue in the process of healing.
13. Alcohol swabs-to kill bacteria on your tools.
========================================================